

Before comparing two speaking takes, keep the microphone position consistent. If you lean in for one take and sit back for the other, the sound difference cannot confidently be attributed to the exercise. Check the setup first, then the speech.
Tools
Compare the speech, not the microphone distance
A practical placement check before A/B voice practice, without buying equipment or pretending every recording is comparable.
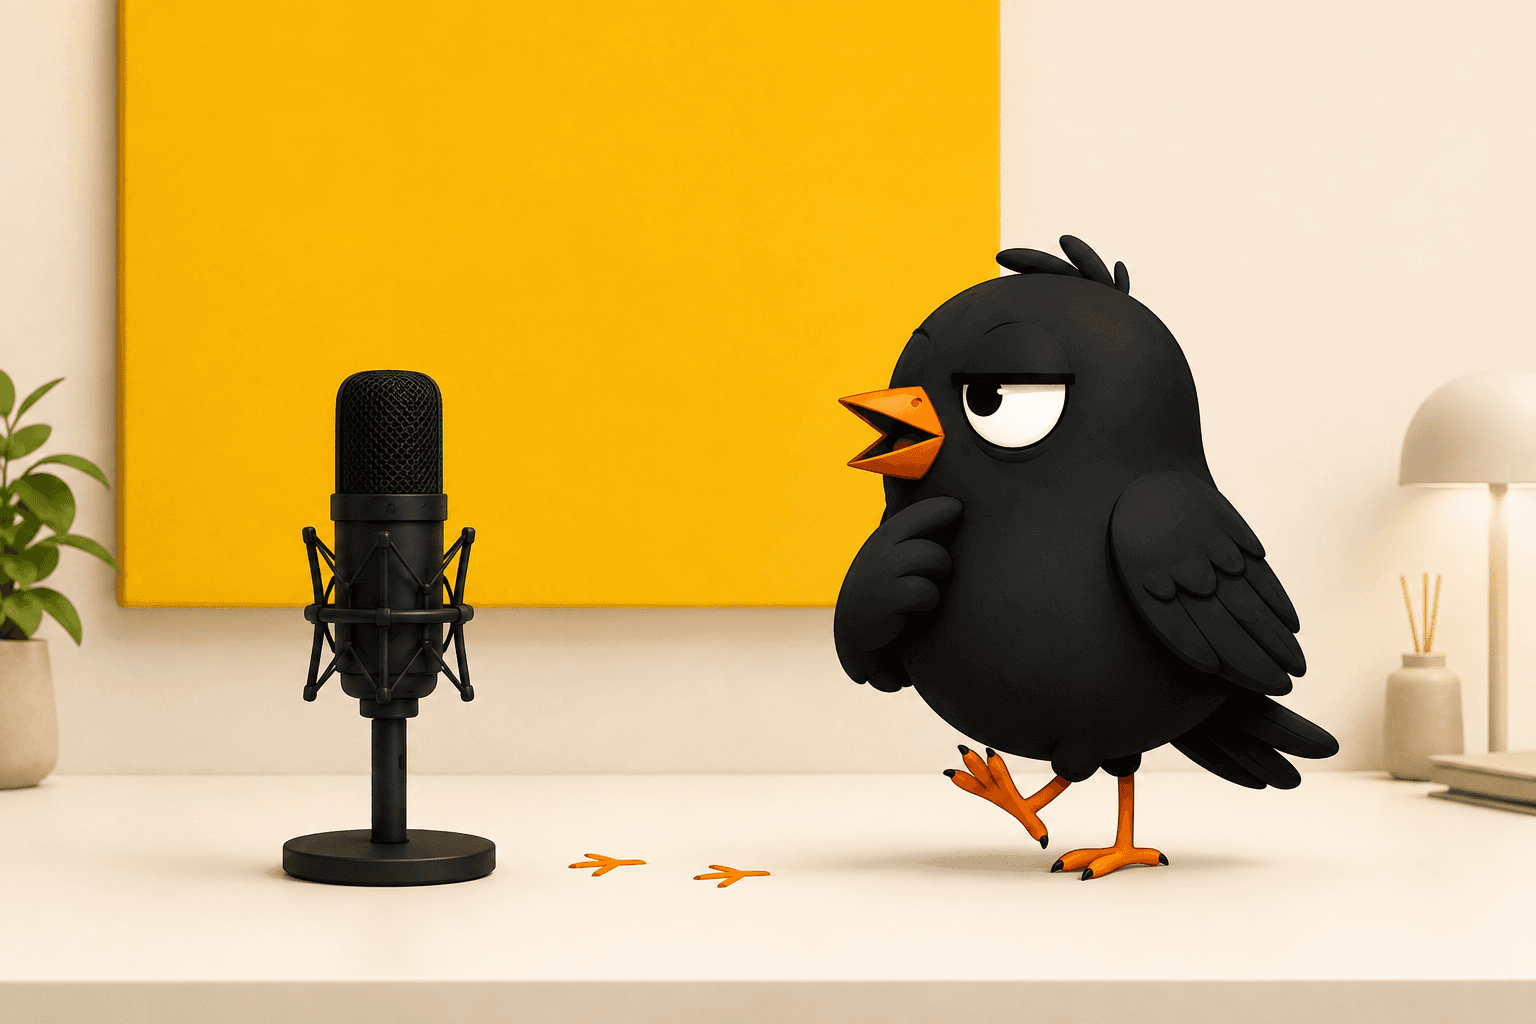
The microphone is part of the result
Shure notes that small changes in distance and placement can noticeably affect a recording. With a cardioid microphone, moving closer can also increase low-frequency content through the proximity effect. Shure’s vocal recording guide.
Do not assume every laptop or headset behaves that way. Directionality, processing and automatic level control vary. There is no universal ideal distance on this page.
When Take B seems more substantial
Imagine rehearsing:
The budget stays the same. Only the approval process changes.
For A, you sit back. Before B, you lean towards the laptop. The second recording sounds fuller. That is worth noticing, but it does not establish that you communicated the contrast better. Too many things may have changed together.
This is an invented example, not a Ptichi measurement. A fuller sound is not evidence of clearer meaning.
A short placement check
- Use one microphone and one recording application. You need not disable processing; keep the setting consistent.
- Record a brief sentence from a comfortable position. Note where your chair and device are so you can reproduce the arrangement without holding a rigid posture.
- Record the same sentence slightly closer or farther away. Do not deliberately improve the delivery. This is a setup trial.
- Listen for missing words, unwanted boom or air bursts on consonants. Is the position comfortable to maintain?
- Choose a repeatable arrangement. Record fresh A and B takes there, changing only the speaking intention.
Do not judge level differences when an application automatically matches playback loudness. Equal perceived loudness does not make the recording conditions identical.
| Note before recording | Purpose |
|---|---|
| Microphone and application | Keep the recording path consistent |
| Device and body position | Repeat the arrangement comfortably |
| Processing, if known | Preserve settings; label unknowns honestly |
| Noise or interruption | Avoid treating interference as a speech change |
If a take is interrupted, label it and repeat it. Do not quietly use a failed recording as the baseline for an attractive comparison.
What this does not establish
This is not calibration or microphone certification. It does not measure a noise floor, diagnose a room or establish that an external microphone is necessary. If a built-in microphone captures understandable speech under repeatable conditions, start there. Buying equipment is not an exercise step.
Continue with one thought-boundary contrast. Ptichi treats recording readiness separately from support for individual measurements. Browser test tones do not check your hardware.
Reviewed:
Related
Practice
Two thoughts. One useful pause.
A short listening exercise: record a contrast, make the boundary audible, then try it with new words.
Problems
Your recorded voice sounds unfamiliar. Now what?
Separate an unfamiliar voice from an unclear message, with a short listening exercise and a concrete work example.
Product
What Ptichi is
A private desktop practice instrument for making professional speech easier to follow — without pretending one score can judge your voice.